10 Hair Cut at Home Butterfly
The butterfly haircut has quickly become one of the most saved and shared hairstyle trends across Pinterest and beauty platforms — and for good reason. It combines dramatic layers, airy movement, and face-framing softness while maintaining long length. The name “butterfly” comes from the illusion it creates: shorter layers that mimic wings at the top, with longer layers flowing underneath.
What makes this haircut especially popular is that it can actually be done at home with the right preparation, technique, and patience. Unlike blunt cuts that require extreme precision at the back of the head, the butterfly haircut relies on layered shaping using sectioning and controlled ponytail cutting methods. When done correctly, it gives volume at the crown, movement through the mid-lengths, and a soft cascading finish that looks salon-professional.
This guide is designed for beginners who want a practical, step-by-step breakdown of 10 different butterfly haircut variations you can try at home. Each idea includes a clear explanation, a detailed how-to method, and a complete materials list so you feel fully prepared before picking up your scissors.
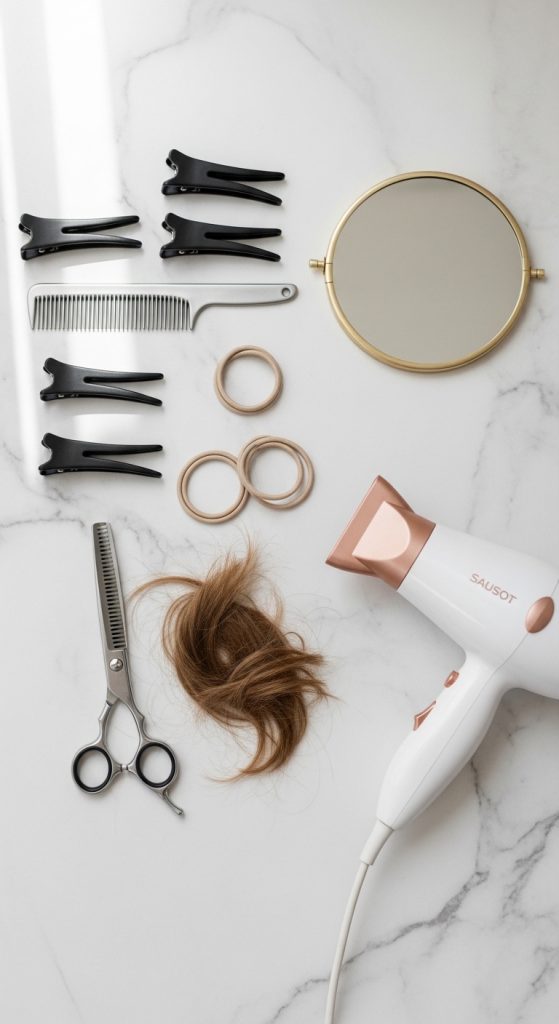
Before starting any at-home haircut, remember these important tips:
• Always cut less than you think — you can trim more later.
• Use professional hair cutting shears, never kitchen scissors.
• Cut hair dry and styled straight to ensure even layering.
• Work slowly and check symmetry frequently.
• Have good lighting and a mirror setup.
The butterfly cut works best on medium to long hair and is ideal for straight, wavy, or lightly curly textures. It’s especially flattering for women who want volume without losing overall length.
If you’ve been saving butterfly haircut inspiration but hesitated to try it yourself, this detailed guide will walk you through 10 safe, beginner-friendly variations you can confidently attempt at home.
Let’s get started.
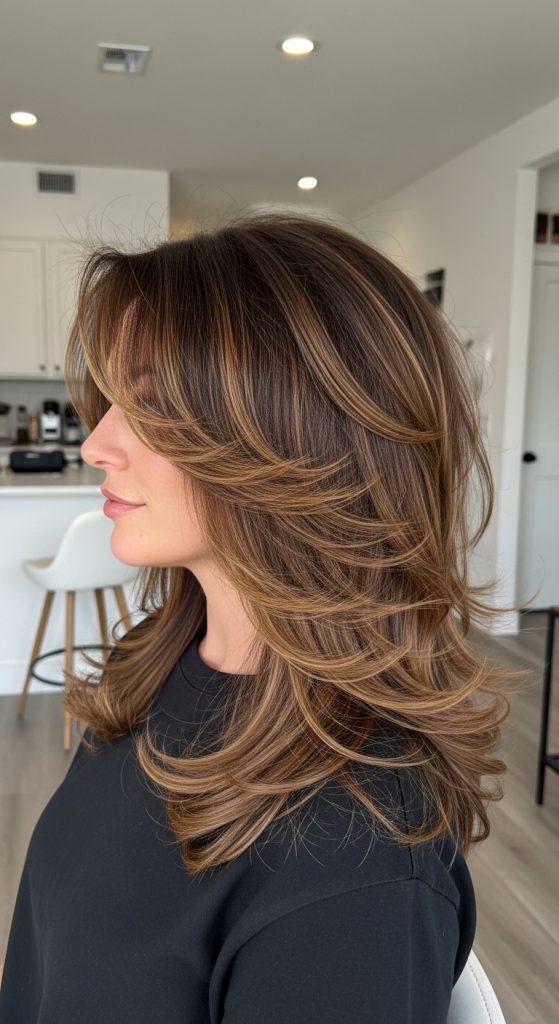
1. Classic Long Butterfly Cut at Home
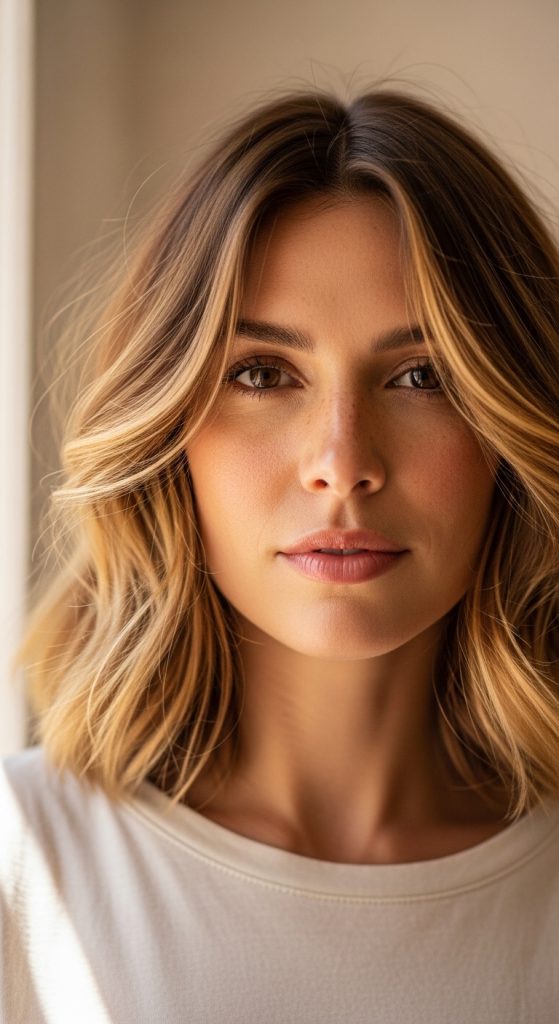
The classic long butterfly haircut is perfect if you want dramatic layers without sacrificing your length. This variation creates two distinct layer zones: short face-framing layers in front and long blended layers underneath. It gives movement, body, and that signature airy “winged” effect.
This style is best for straight to slightly wavy hair and works beautifully for thick or medium-density hair. If your hair feels heavy or flat at the top, this cut will instantly create volume and lift.
What Is the Classic Butterfly Cut?
It is a layered haircut that mimics the look of short hair from the front while keeping long length in the back.
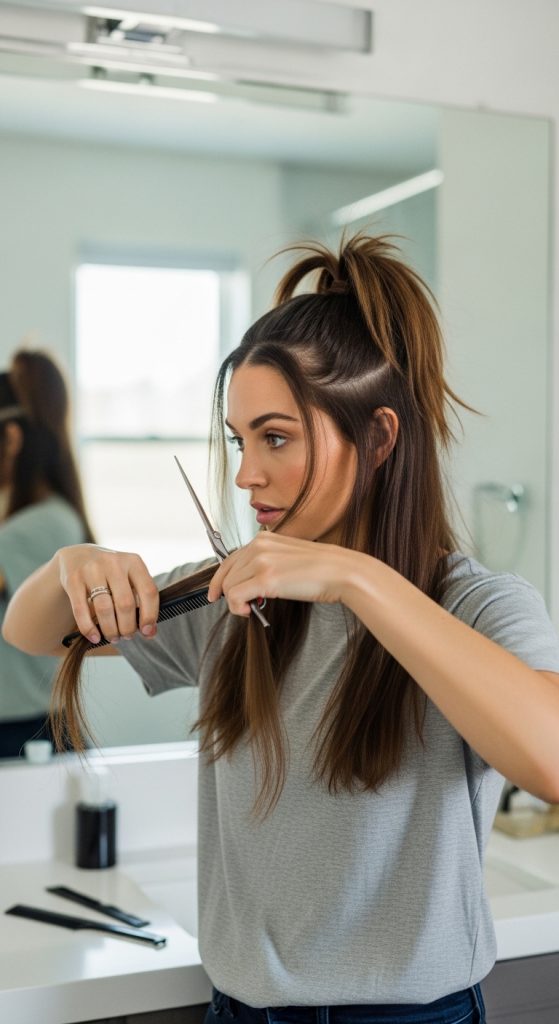
Step-by-Step How-To
- Start with dry, straightened hair.
- Brush thoroughly to remove tangles.
- Section off the front half of your hair (ear to ear).
- Tie the front section into a high ponytail at the forehead.
- Decide how short you want the shortest layer.
- Point-cut small amounts off the ponytail.
- Release and check face-framing layers.
- For the back layers, create a second ponytail at the crown.
- Trim slightly to create long cascading layers.
- Blend lightly if needed.
Materials Needed
• Professional hair cutting shears
• Fine-tooth comb
• Strong hair ties
• Sectioning clips
• Blow dryer
• Flat iron
This version gives maximum volume and softness while maintaining long, feminine length.
2. Soft Butterfly Cut for Thin Hair
If you have fine or thin hair, a softer butterfly variation prevents over-layering. This method creates light movement without removing too much density.
Definition
A subtle layered butterfly cut designed to maintain fullness while adding gentle volume.
Step-by-Step How-To
- Keep hair fully dry and smooth.
- Create a loose high ponytail at the forehead.
- Trim only 1–2 inches maximum.
- Use point cutting instead of blunt cutting.
- Avoid cutting a second heavy crown layer.
- Style with a round brush for lift.
Materials Needed
• Shears
• Lightweight volumizing mousse
• Blow dryer
• Medium round brush
• Comb
Perfect for women who want light layering without thinning their hair.

3. Curly Butterfly Cut at Home
Curly hair needs a modified approach. Cutting curls dry ensures accurate shape and bounce.
Definition
A layered butterfly shape adapted for natural curls.
Step-by-Step How-To
- Style curls naturally first.
- Section front half loosely.
- Create a high loose ponytail.
- Trim small amounts slowly.
- Cut curl by curl if needed.
- Fluff and reshape.
Materials Needed
• Curl-friendly shears
• Spray bottle (water mist)
• Curl cream
• Diffuser
This method enhances natural bounce while preventing uneven shrinkage.
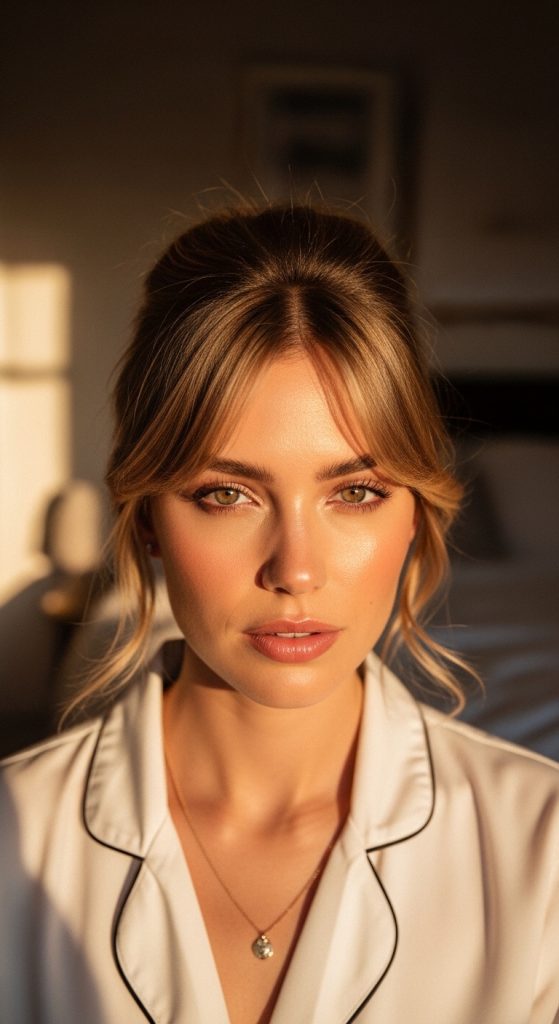
4. Butterfly Cut with Curtain Layers
This version emphasizes dramatic face framing.
Definition
Butterfly cut focused on soft curtain-style front layers.
Steps
- Section a triangular bang area.
- Pull forward.
- Cut shortest point at chin level.
- Angle downward.
- Blend into longer layers.
Materials
• Shears
• Comb
• Round brush
• Blow dryer
Creates instant volume and softness around cheekbones.

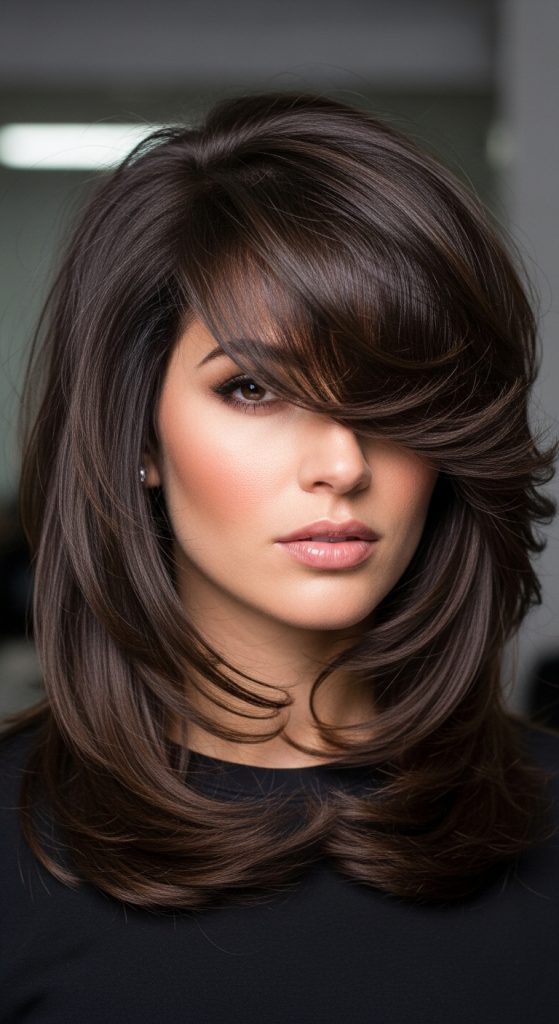
5. Dramatic Volume Butterfly Cut
Ideal for thick hair needing structure.
Definition
Heavily layered crown area for maximum lift.
Steps
- Separate crown section.
- Tie into high ponytail.
- Trim more aggressively (gradually).
- Add second lower ponytail.
- Blend edges.
Materials
• Professional shears
• Sectioning clips
• Volumizing spray
• Blow dryer
Best for thick hair needing lightness.

6. Shoulder-Length Butterfly Cut
Great for medium-length hair.
Definition
Butterfly layering adapted to shoulder-length hair.
Steps
- Create forehead ponytail.
- Trim modestly.
- Check shortest layer.
- Refine edges.
- Style with soft waves.
Materials
• Shears
• Curling wand
• Heat protectant
Adds lift without losing manageable length.
7. Subtle Everyday Butterfly Trim
For maintenance only.
Definition
Light reshaping version to refresh existing layers.
Steps
- Create loose front ponytail.
- Trim less than one inch.
- Use point cutting.
- Check balance.
Materials
• Sharp shears
• Comb
• Mirror setup
Perfect for refreshing grown-out layers.
8. Butterfly Cut with Side Part Layers
Designed for deep side parts.
Definition
Butterfly layering adjusted for side-swept styling.
Steps
- Part hair deeply.
- Section front heavier side.
- Ponytail forward.
- Trim gradually.
- Blend opposite side lightly.
Materials
• Shears
• Comb
• Blow dryer
Great for dramatic volume on one side.

9. Long Butterfly Cut with V-Shape Back
Adds dimension to long hair.
Definition
Butterfly layers combined with subtle V-shaped ends.
Steps
- Complete front ponytail cut.
- Pull hair to back center.
- Trim slight angled point.
- Blend layers.
Materials
• Shears
• Comb
• Clips
Enhances dimension while keeping long length.
10. Beginner-Friendly Minimal Butterfly Cut
Safest option for first-timers.
Definition
Very conservative layered approach.
Steps
- Make small high ponytail.
- Trim only 1 inch.
- Check symmetry.
- Stop and reassess before cutting more.
Materials
• Professional shears
• Strong hair tie
• Mirror