Lucky Charms nails are one of the most playful, creative, and scroll-stopping manicure trends you can try. Inspired by the iconic cereal marshmallows — tiny rainbows, hearts, stars, clovers, moons, and horseshoes — this nail design is all about bright pastel colors, whimsical details, and cheerful energy. It’s the perfect blend of nostalgic fun and modern nail art aesthetics.
These designs are especially popular around St. Patrick’s Day, spring season, and themed parties, but they also work year-round if you love bold, happy nail art. The beauty of Lucky Charms nails lies in their versatility. You can go full maximalist with every nail featuring a different charm, or keep it subtle with one or two accent nails. You can choose a pastel base for a soft candy-inspired look, or a bright glossy base for a vibrant statement manicure.
Pinterest users love these nails because they’re eye-catching, colorful, and instantly mood-lifting. They photograph beautifully thanks to their mix of soft pastels and defined shapes. They’re also customizable for short, medium, or long nail lengths and work on almond, coffin, square, or even stiletto shapes.
In this guide, you’ll discover 10 detailed Lucky Charms nail ideas with step-by-step instructions and material lists so you can recreate them at home or bring the idea directly to your nail technician. Each design is beginner-friendly but can also be elevated with advanced detailing for a salon-quality finish.
If you’re ready to embrace color, creativity, and a little bit of luck, these Lucky Charms nail ideas will inspire your next fun manicure.
Let’s dive in.
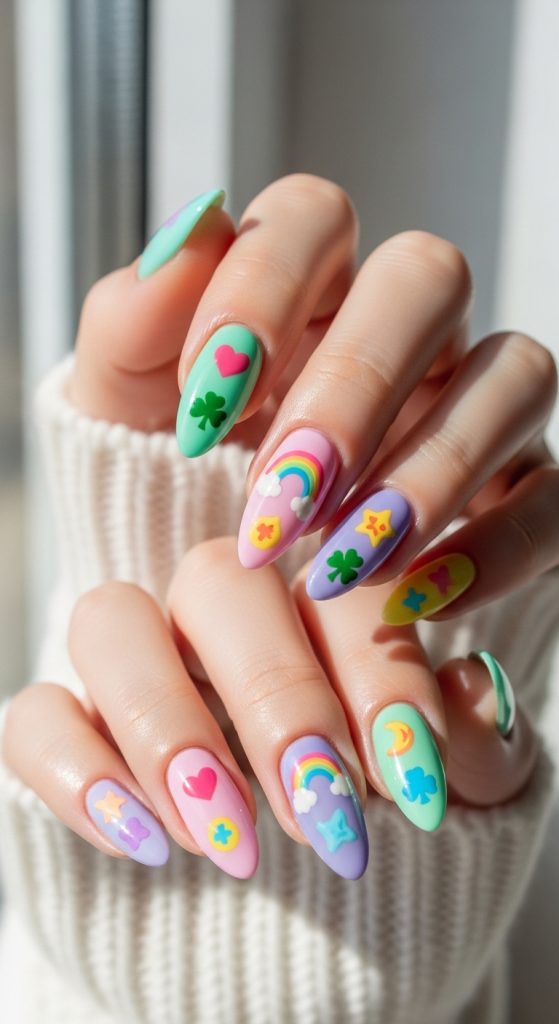
1. Classic Pastel Lucky Charms Mix
This design features each nail painted in a different pastel shade inspired by cereal marshmallows — soft pink, baby blue, mint green, pale yellow, and lavender. On top of each nail, you add one small charm design such as a rainbow, star, heart, or clover.
It’s colorful without being overwhelming and works beautifully on short or medium almond nails.
What Defines This Look
- Different pastel base colors on each nail
- Small hand-painted charm icons
- Glossy finish
- Playful, balanced layout
Step-by-Step How-To
- Prep and shape nails.
- Apply base coat.
- Paint each nail a different pastel shade.
- Use a fine nail art brush to paint tiny charm icons.
- Seal with glossy top coat.
Materials Needed
- Base coat
- Pastel nail polish set
- Fine nail art brush
- Dotting tool
- Top coat
Colorful, cheerful, and Pinterest-ready.
2. Green Clover Accent Nails
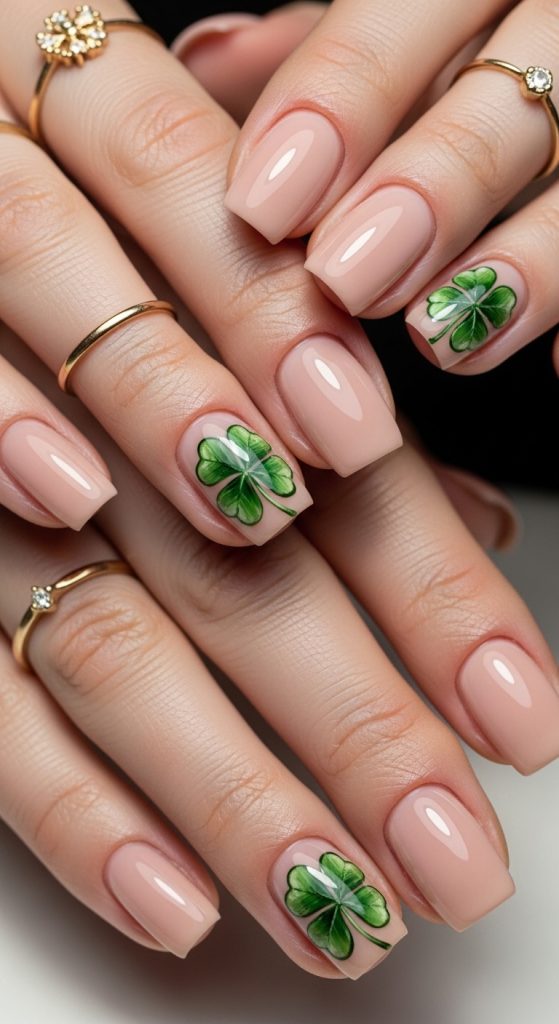
For a more subtle Lucky Charms vibe, focus on green clovers as accent art. Paint most nails a soft nude or pastel green, and feature detailed four-leaf clovers on one or two accent nails.
Perfect for St. Patrick’s Day or minimalist charm lovers.
What Defines This Look
- Soft green or nude base
- Detailed four-leaf clover design
- Glossy finish
- Clean layout
Step-by-Step How-To
- Apply base coat and green polish.
- Use dotting tool to create clover leaves.
- Add a thin stem with fine brush.
- Seal with top coat.
Materials Needed
- Green polish
- Nude polish (optional)
- Dotting tool
- Nail art brush
- Top coat
Simple but lucky.
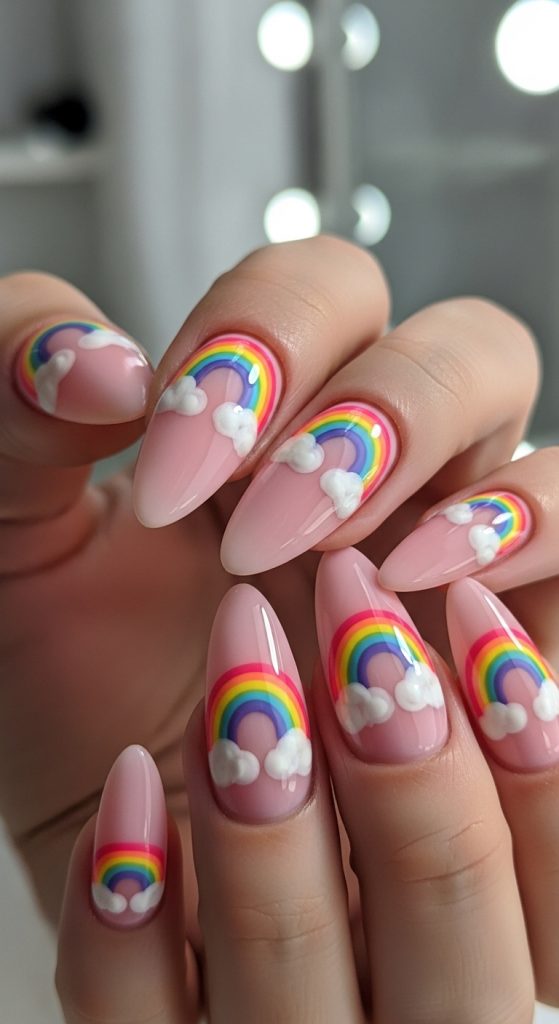
3. Rainbow & Cloud Charm Nails
This adorable design highlights mini rainbows and fluffy white clouds over a pastel base.
It feels whimsical and works beautifully for spring.
What Defines This Look
- Pastel pink or blue base
- Mini rainbow art
- White cloud details
- Glossy finish
Step-by-Step How-To
- Apply pastel base color.
- Paint small rainbow arches using thin brush.
- Add tiny white clouds at ends.
- Seal with glossy top coat.
Materials Needed
- Pastel polish
- White polish
- Multiple bright polish shades
- Fine nail brush
- Top coat
Cute and colorful.
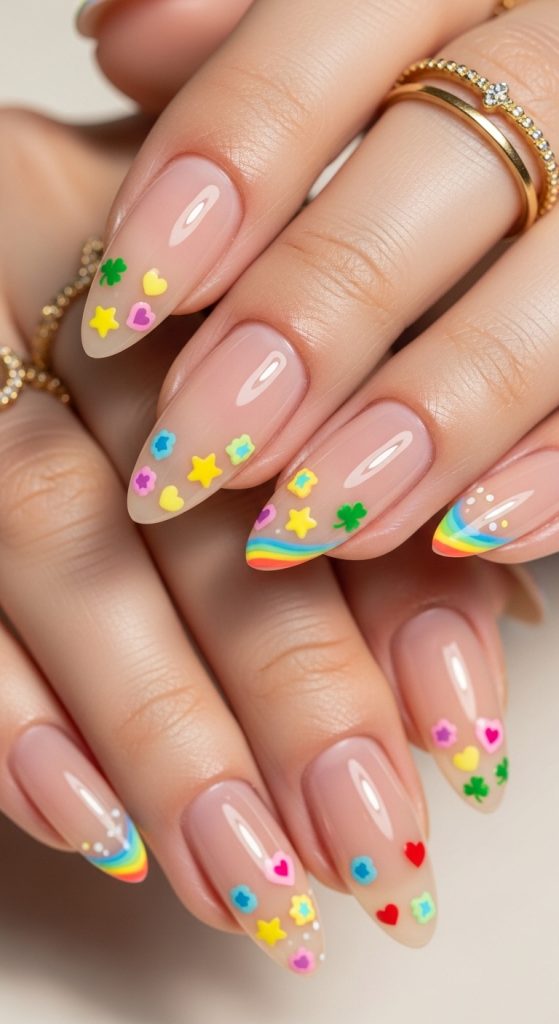
4. Lucky Charms French Tips
Instead of full designs, create colorful charm shapes only at the tips of nude nails.
This gives a trendy, modern twist.
What Defines This Look
- Nude base
- Charm-shaped French tips
- Clean negative space
- Glossy finish
Step-by-Step How-To
- Apply nude base coat.
- Use brush to paint small charm shapes at tips.
- Clean edges carefully.
- Seal with top coat.
Materials Needed
- Nude polish
- Pastel shades
- Nail art brush
- Top coat
Modern and playful.
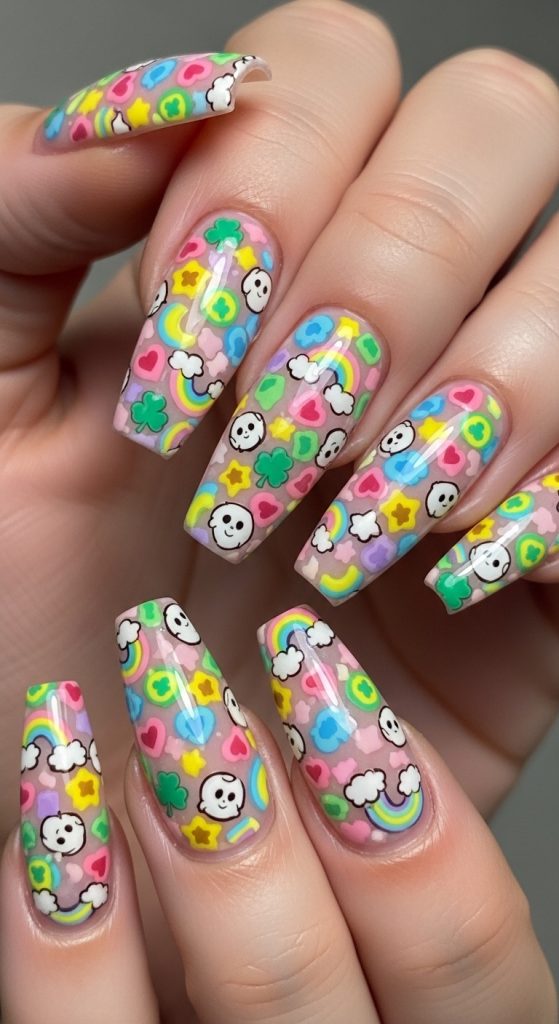
5. Full Lucky Charms Pattern Nails
For a bold statement, cover each nail in multiple tiny charm icons over a pastel background.
This is maximalist and super eye-catching.
What Defines This Look
- Multiple small charm drawings
- Pastel base
- Dense pattern layout
- Glossy finish
Step-by-Step How-To
- Apply pastel base.
- Paint tiny hearts, stars, moons, and clovers.
- Distribute evenly across nail.
- Seal with thick top coat.
Materials Needed
- Pastel polish
- Detail brush
- Dotting tool
- Top coat
Bright and fun.
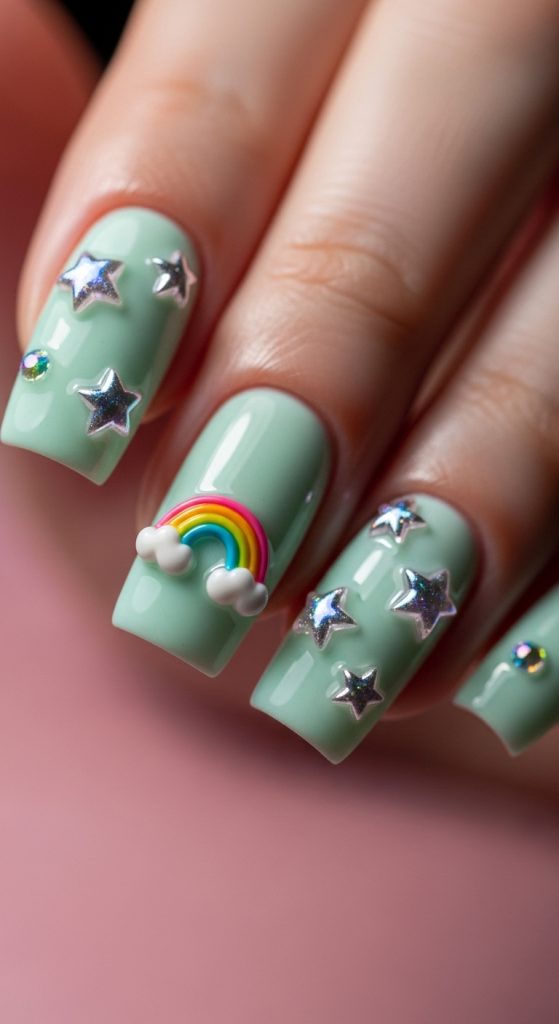
6. 3D Lucky Charms Nail Art
This version uses small 3D nail charms shaped like stars or rainbows.
Perfect for dramatic, statement nails.
What Defines This Look
- Glossy pastel base
- Raised 3D charm decorations
- Bold design
Step-by-Step How-To
- Apply gel base color.
- Attach 3D charms using nail glue.
- Cure if needed.
- Seal edges carefully.
Materials Needed
- Gel polish
- 3D nail charms
- Nail glue
- Top coat
Playful and textured.
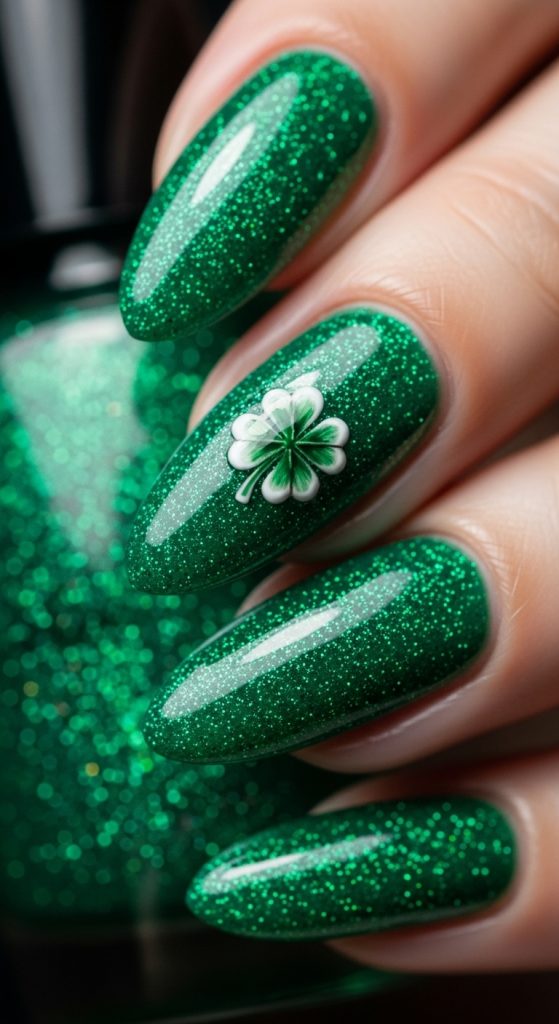
7. Glitter Green Lucky Nails
Add sparkle by combining emerald glitter polish with charm accents.
Great for festive events.
What Defines This Look
- Green glitter base
- Small charm art
- High shine
Step-by-Step How-To
- Apply glitter green polish.
- Add simple charm on accent nail.
- Seal with top coat.
Materials Needed
- Glitter polish
- Nail art brush
- Top coat
Sparkly and bold.
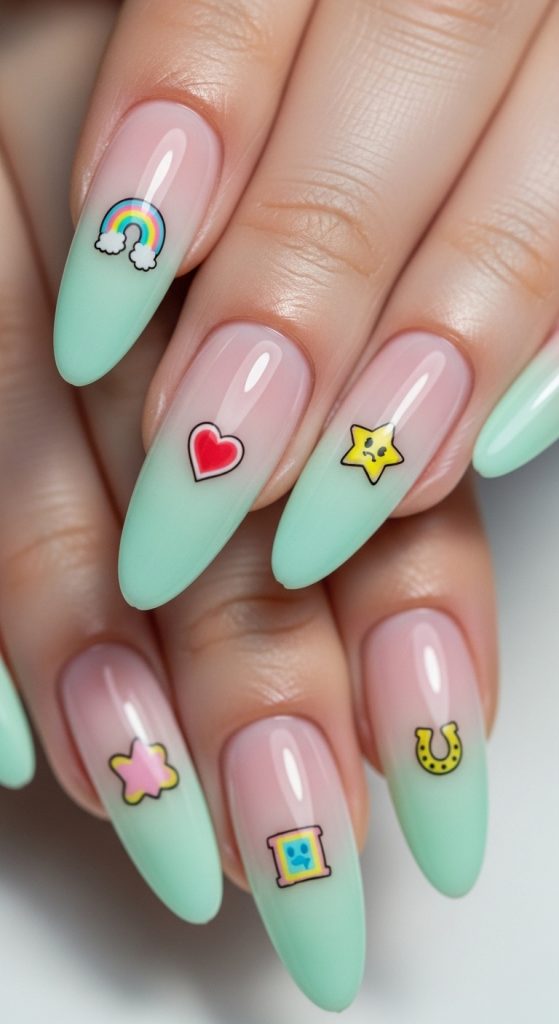
8. Ombre Pastel Lucky Nails
Blend two pastel shades into a soft ombre base and add one small charm detail per nail.
What Defines This Look
- Pastel ombre base
- Minimal charm icon
- Glossy finish
Step-by-Step How-To
- Apply base color.
- Sponge second shade for ombre effect.
- Add charm detail.
- Seal with top coat.
Materials Needed
- Two pastel polishes
- Makeup sponge
- Nail art brush
- Top coat
Soft and creative.
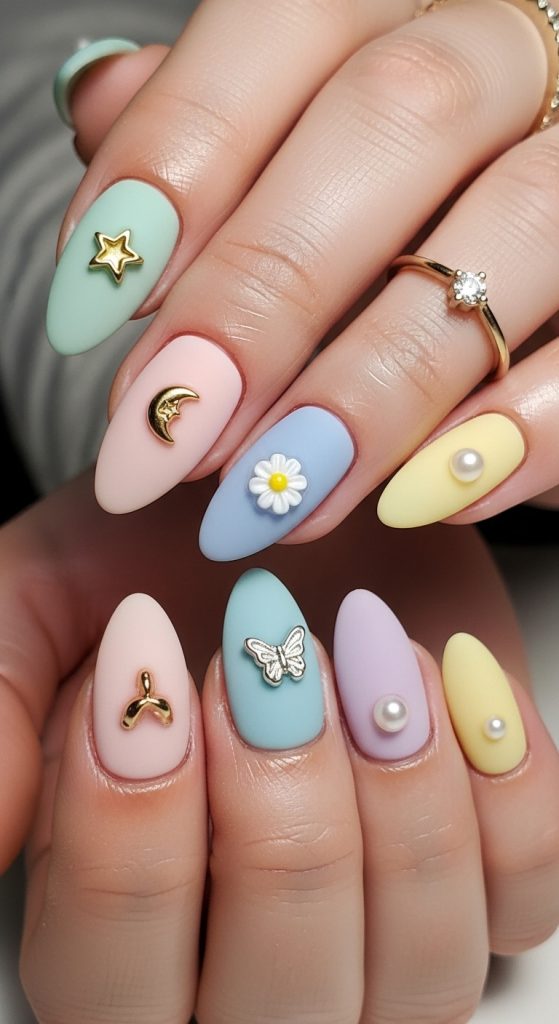
9. Matte Lucky Charms Nails
Use matte top coat to give the design a soft candy-like finish.
What Defines This Look
- Pastel base
- Charm art
- Matte finish
Step-by-Step How-To
- Paint pastel base.
- Add charm art.
- Apply matte top coat.
Materials Needed
- Pastel polish
- Nail art tools
- Matte top coat
Unique and trendy.
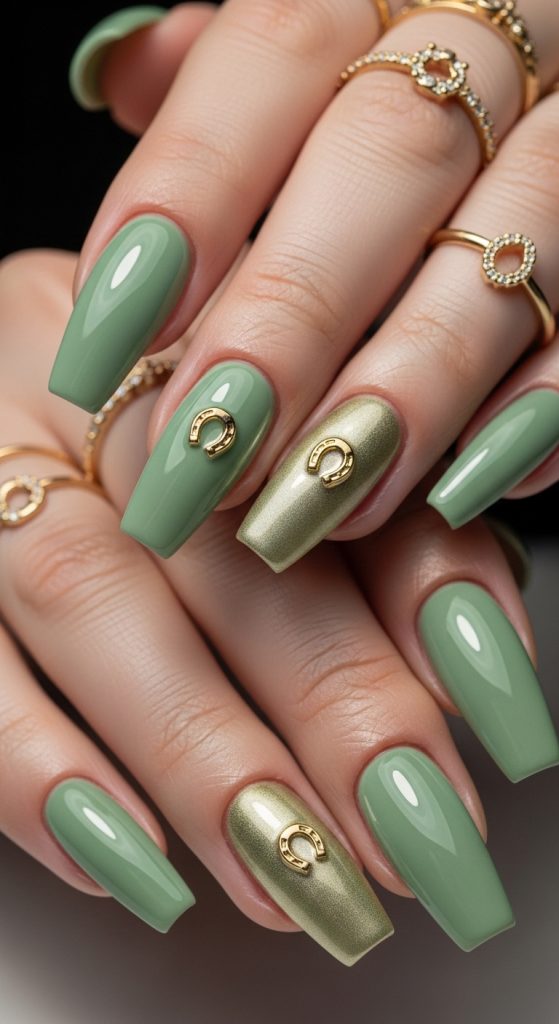
10. Gold Horseshoe Lucky Nails
For a sophisticated take, use nude or soft green base and add tiny gold horseshoe accents.
What Defines This Look
- Nude or sage base
- Gold horseshoe detail
- Elegant layout
Step-by-Step How-To
- Apply base color.
- Paint or attach gold horseshoe accent.
- Seal with glossy top coat.
Materials Needed
- Nude or green polish
- Gold nail art paint or charms
- Top coat