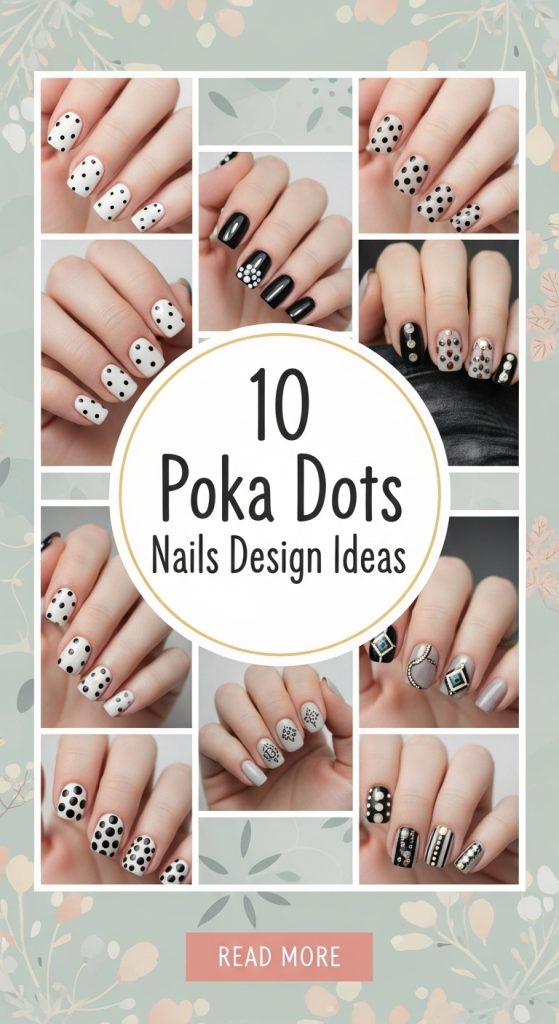
10 Poka Dots Nails Design Ideas
Poka dots nail designs—more commonly known in the beauty world as polka dot nails—have stood the test of time as one of the most playful, versatile, and endlessly customizable nail art styles. From vintage-inspired looks to modern minimalist aesthetics, poka dots nails can be adapted to suit every personality, occasion, and skill level. Their simplicity makes them approachable for beginners, while their flexibility allows experienced nail artists to create intricate, eye-catching designs that look professional and Pinterest-worthy.
One of the biggest reasons poka dots nail designs remain so popular is their universal appeal. They work beautifully on all nail lengths and shapes, from short natural nails to long acrylics. Whether you prefer classic round dots, abstract dot placement, or layered dot patterns, this design style offers endless creative freedom. You can go bold with high-contrast colors, soft with pastels, elegant with neutrals, or festive with bright seasonal shades. No matter the direction, poka dots nails always feel intentional, stylish, and fun.
Another major advantage of poka dots nail designs is how beginner-friendly they are. Unlike detailed line art or complex hand-painted designs, dots require minimal tools and basic technique. With simple dotting tools, bobby pins, toothpicks, or even the end of a makeup brush, anyone can achieve clean, polished dot designs at home. This accessibility makes poka dots nails especially popular on Pinterest, where users actively search for DIY nail ideas that are easy to recreate but still look high-end.
From a styling perspective, poka dots nails can communicate different moods depending on color and placement. Small evenly spaced dots can feel chic and minimalist, while oversized dots create a bold, retro statement. Mixed dot sizes add movement and visual interest, while asymmetrical patterns bring a modern edge. You can even combine poka dots with other nail art elements like French tips, negative space, ombré backgrounds, or glitter accents for a more advanced look.
Poka dots nails are also highly adaptable to trends and seasons. Soft nude bases with white dots feel fresh and timeless for everyday wear. Bright color combinations work perfectly for summer and vacations. Dark bases with metallic dots add elegance for evening events. Pastel dot designs are ideal for spring, while red, green, or gold dots bring festive charm during holidays. This versatility makes poka dots nail designs a reliable go-to for anyone who enjoys changing their nail look frequently.
Another reason these designs perform exceptionally well on Pinterest is their visual clarity. Dots photograph beautifully, even in simple lighting, and remain clear at small sizes—making them ideal for pins and thumbnails. Their repetitive patterns are satisfying to look at and easy to understand at a glance, which increases saves and shares. That visual simplicity combined with creative flexibility is what makes poka dots nails such a strong evergreen topic for beauty content.
This article explores ten detailed poka dots nails design ideas, each offering a unique aesthetic and practical approach. Every idea includes a clear explanation of the design, step-by-step instructions to help you recreate the look, and a list of tools or materials typically used. Whether you’re a complete beginner trying nail art for the first time or someone looking to refresh your manicure style, these ideas are designed to be approachable, stylish, and adaptable.
Written in a professional Pinterest blog style, this guide focuses on clear structure, practical tips, and save-worthy inspiration. Each section is designed to help you visualize the final result and confidently try the design yourself. Let’s dive into ten poka dots nail design ideas that are timeless, trendy, and perfect for any occasion.
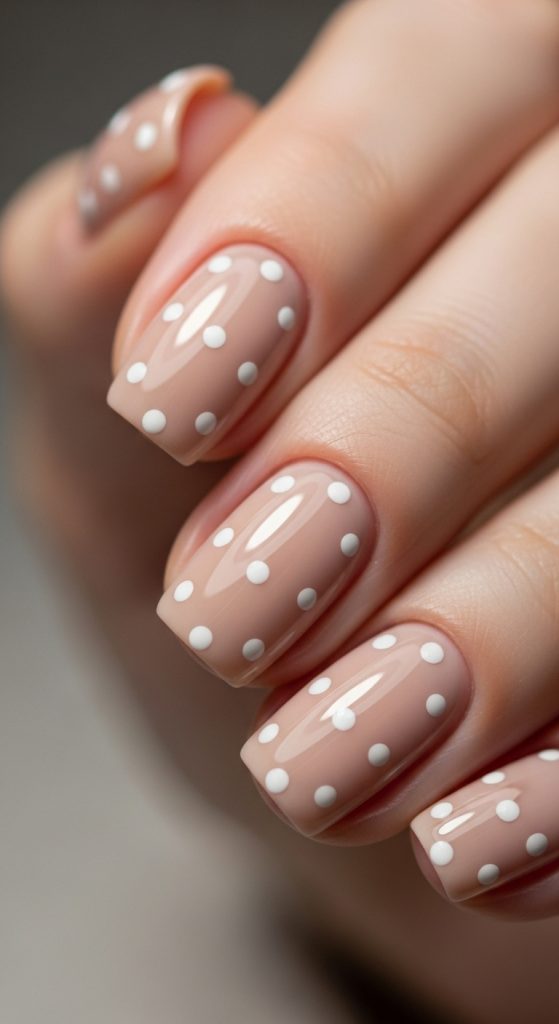
1. Classic White Poka Dots on Nude Nails
Introduction
Classic white poka dots on nude nails are one of the most timeless and elegant nail designs you can choose. This look is perfect for those who love minimalism and want a manicure that feels polished, clean, and versatile. It works beautifully for everyday wear, professional settings, and even special occasions where understated elegance is preferred.
Definition / Explanation
This design features a nude or neutral base color topped with evenly spaced white dots. The simplicity of the color palette allows the dot pattern to stand out without overwhelming the nails. The look is subtle, feminine, and universally flattering.
Step-by-Step How-To
Start by applying a nude or soft beige base coat and let it fully dry. Using a dotting tool dipped in white polish, gently place small dots evenly across each nail. Keep spacing consistent for a clean finish. Allow the dots to dry completely, then seal with a glossy top coat for durability and shine.
Materials / Things Used
- Nude nail polish
- White nail polish
- Dotting tool or toothpick
- Base coat
- Top coat
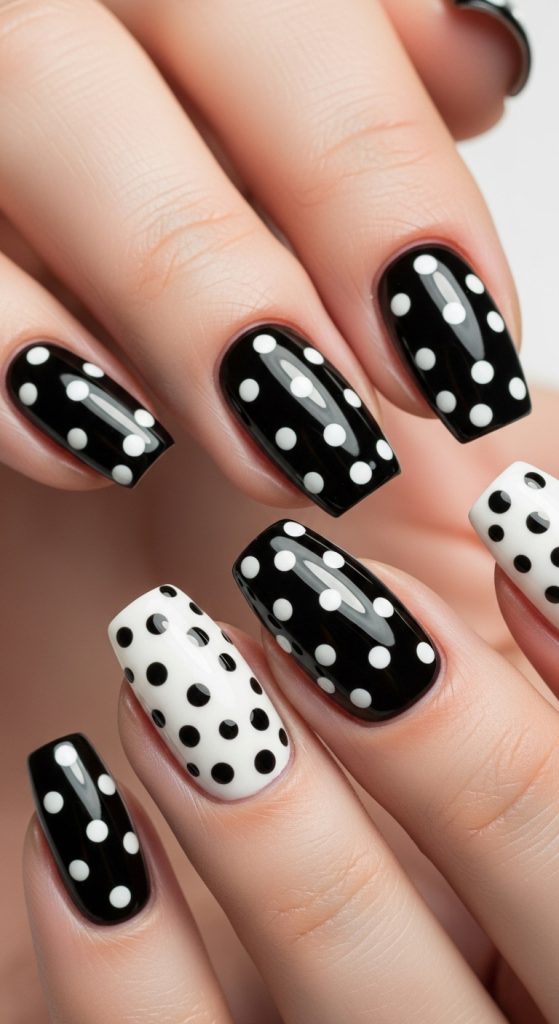
2. Black and White Poka Dots Nails Design
Introduction
Black and white poka dots nails offer a bold, high-contrast look that feels both retro and modern. This design is perfect for those who want a statement manicure without using bright colors.
Definition / Explanation
This style typically alternates black and white bases with contrasting dots, or features a single base color with opposing dot shades. The sharp contrast creates a graphic, eye-catching appearance.
Step-by-Step How-To
Apply your chosen base color and allow it to dry. Use a dotting tool to apply contrasting dots evenly across the nail. You can alternate dot sizes for added interest. Finish with a top coat to smooth the surface.
Materials / Things Used
- Black nail polish
- White nail polish
- Dotting tool
- Base coat
- Glossy top coat
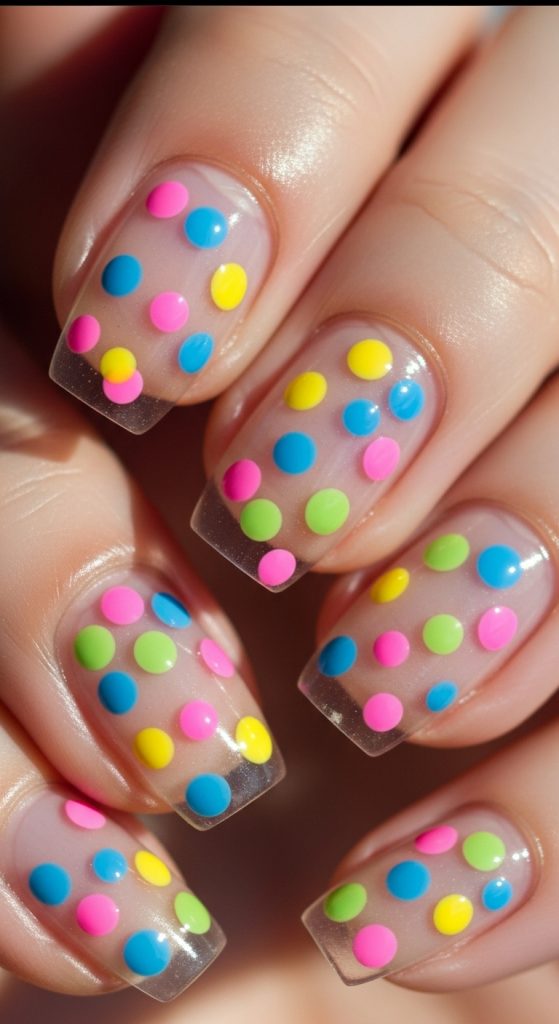
3. Colorful Poka Dots on Clear Nails
Introduction
Colorful poka dots on clear nails create a playful, modern look that feels light and fun. This design is perfect for summer, vacations, or anyone who loves bright, cheerful nail art.
Definition / Explanation
This design uses a transparent or clear base with multi-colored dots placed across the nail. The clear base keeps the look airy while allowing the colors to pop.
Step-by-Step How-To
Apply a clear or sheer base coat. Once dry, use different colored polishes to add dots randomly or evenly across the nail. Let each color dry before adding another to avoid smudging. Finish with a clear top coat.
Materials / Things Used
- Clear nail polish
- Multiple colored polishes
- Dotting tool
- Base coat
- Top coat
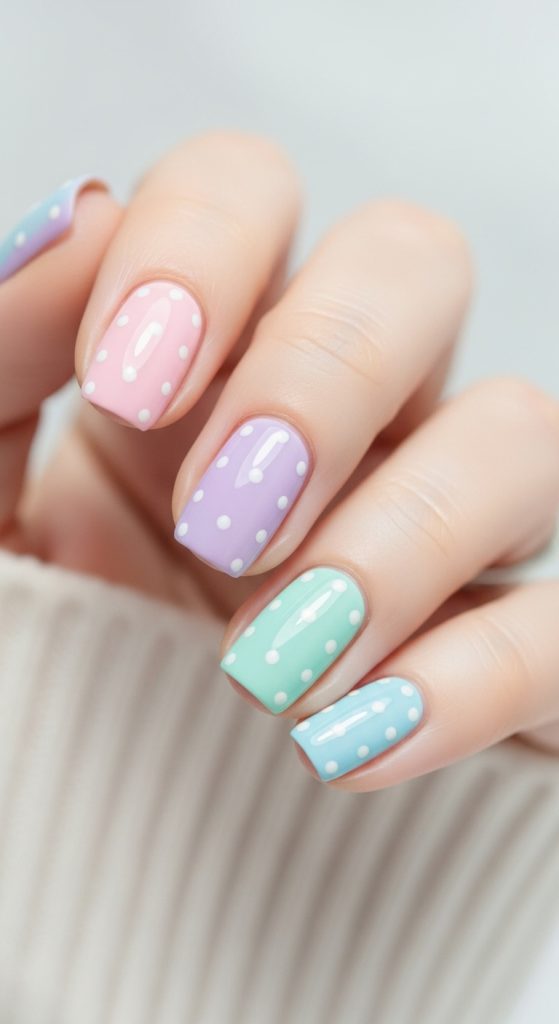
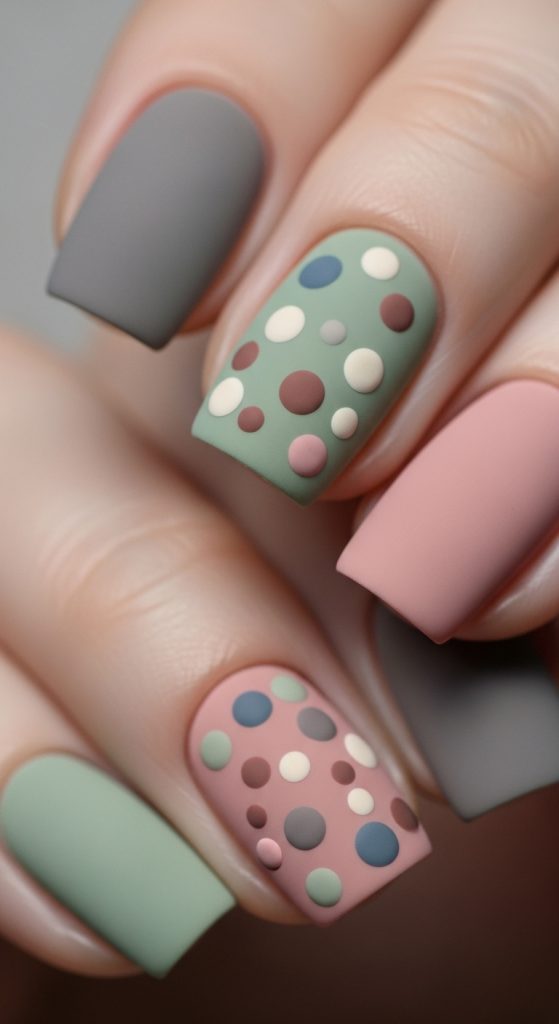
4. Pastel Poka Dots Nails Design
Introduction
Pastel poka dots nails are soft, feminine, and perfect for spring or romantic aesthetics. This design is ideal for those who prefer gentle colors and subtle charm.
Definition / Explanation
Pastel nail designs use light, muted shades like baby pink, lavender, mint, or sky blue paired with coordinating or white dots.
Step-by-Step How-To
Apply a pastel base color and let it dry fully. Use a dotting tool to add small dots in a complementary pastel shade or white. Keep the pattern neat for a delicate look. Seal with a glossy top coat.
Materials / Things Used
- Pastel nail polish
- White or pastel dot color
- Dotting tool
- Base coat
- Top coat
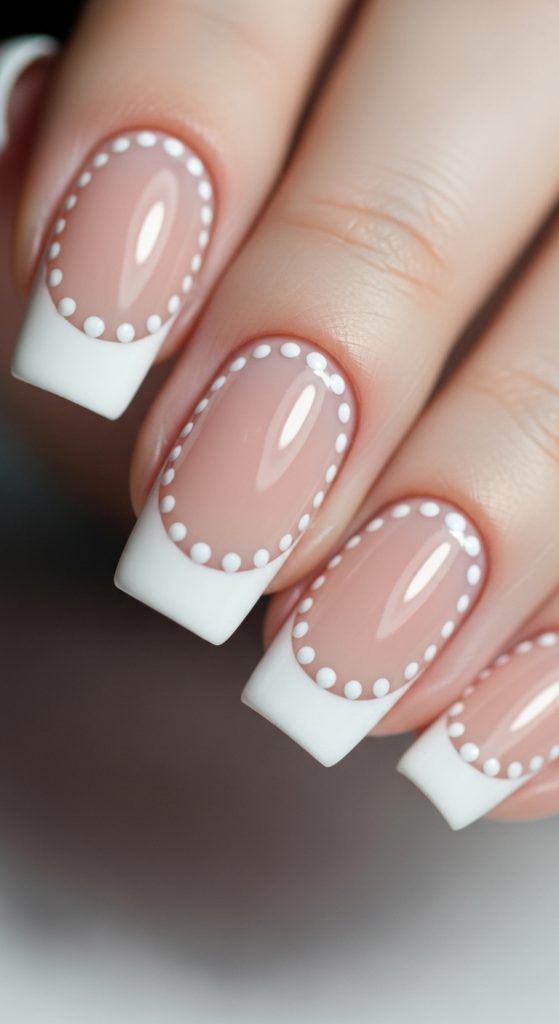
5. French Tip Poka Dots Nails
Introduction
French tip poka dots nails combine classic elegance with playful detail. This design upgrades the traditional French manicure with a modern twist.
Definition / Explanation
Instead of plain white tips, this design adds poka dots either along the tip line or across the entire nail while maintaining a French-inspired base.
Step-by-Step How-To
Apply a sheer or nude base. Paint the tips white or colored. Once dry, add small dots along the tip line or throughout the nail. Finish with a top coat.
Materials / Things Used
- Nude or sheer polish
- White or colored polish
- Dotting tool
- Base coat
- Top coat
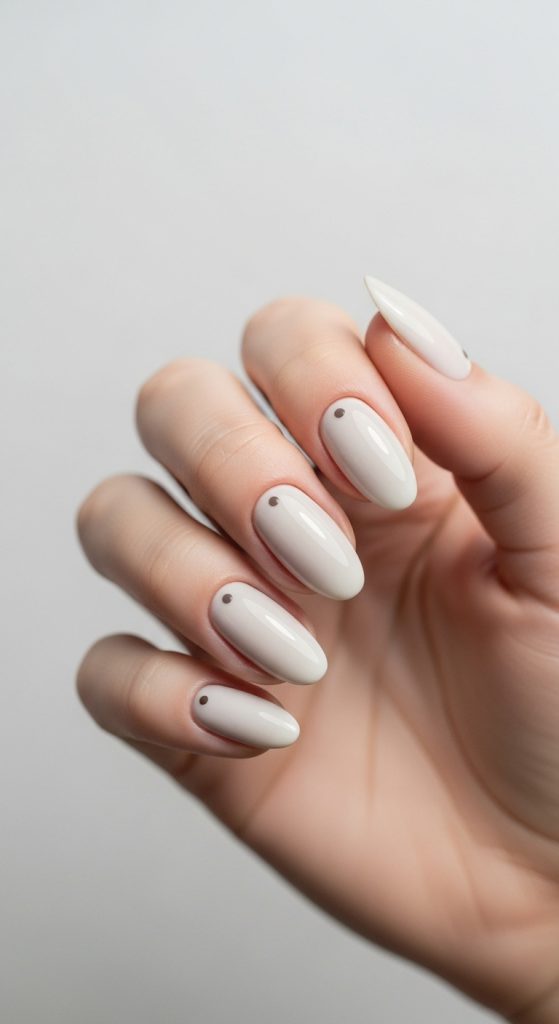
6. Minimalist Single Poka Dot Nails
Introduction
Minimalist single poka dot nails are perfect for modern, clean aesthetics. This design proves that less truly can be more.
Definition / Explanation
Each nail features a single dot placed strategically near the cuticle, center, or tip of the nail, creating a sleek and intentional look.
Step-by-Step How-To
Apply a neutral base color. Once dry, place one dot on each nail using a dotting tool. Keep placement consistent for a polished appearance. Seal with top coat.
Materials / Things Used
- Neutral nail polish
- Contrasting dot color
- Dotting tool
- Base coat
- Top coat
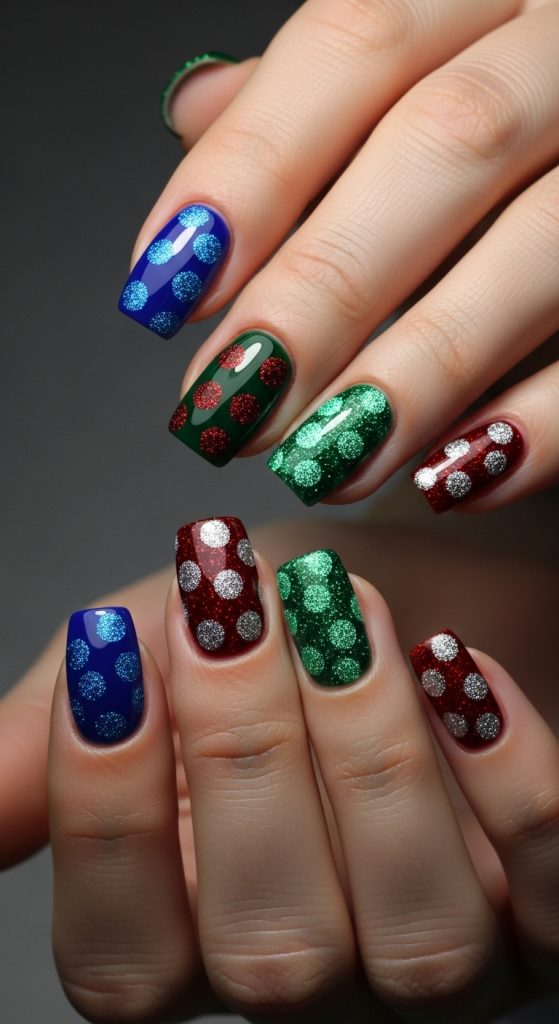
7. Glitter Poka Dots Nails Design
Introduction
Glitter poka dots nails add sparkle and glamour while maintaining a structured design. This style is perfect for parties and celebrations.
Definition / Explanation
This design uses glitter polish or glitter accents to create dots over a solid base color.
Step-by-Step How-To
Apply a base color and let it dry. Use glitter polish to add dots carefully. Allow extra drying time, then seal with a thick top coat.
Materials / Things Used
- Solid base color polish
- Glitter polish
- Dotting tool
- Base coat
- Top coat
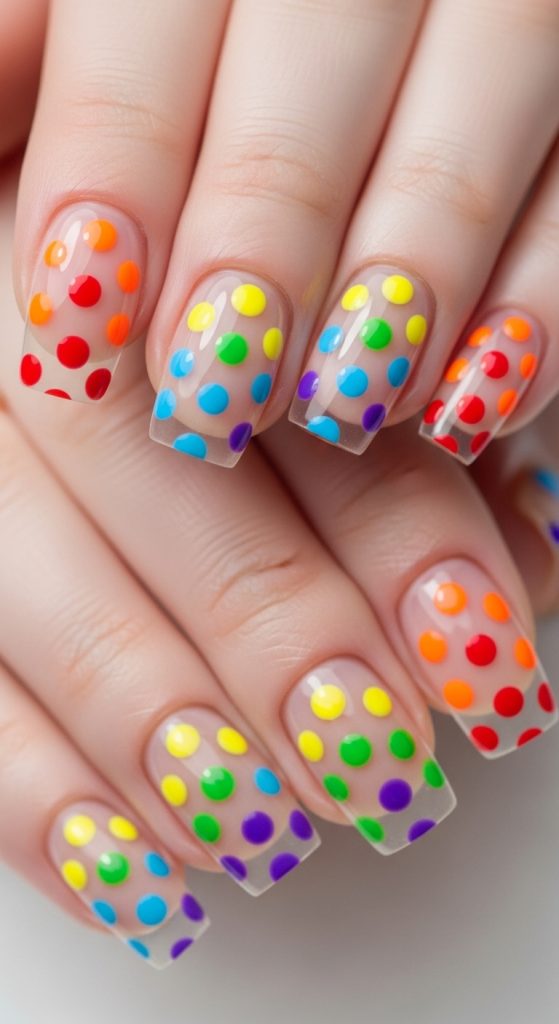
8. Rainbow Poka Dots Nails
Introduction
Rainbow poka dots nails are bold, joyful, and full of personality. This design is ideal for creative expression and vibrant looks.
Definition / Explanation
Multiple bright colors are used to create dot patterns across a neutral or clear base, forming a rainbow effect.
Step-by-Step How-To
Apply a neutral or clear base. Use different colors to add dots evenly or randomly. Let each layer dry before adding more dots. Finish with top coat.
Materials / Things Used
- Clear or neutral base polish
- Multiple bright colors
- Dotting tool
- Base coat
- Top coat
9. Matte Poka Dots Nails Design
Introduction
Matte poka dots nails offer a modern, trendy take on classic dot designs. The matte finish adds sophistication.
Definition / Explanation
This design uses matte base colors paired with glossy or matte dots for contrast.
Step-by-Step How-To
Apply base color and dots as usual. Once dry, finish with a matte top coat for a smooth, velvety look.
Materials / Things Used
- Base color polish
- Dot color polish
- Dotting tool
- Matte top coat
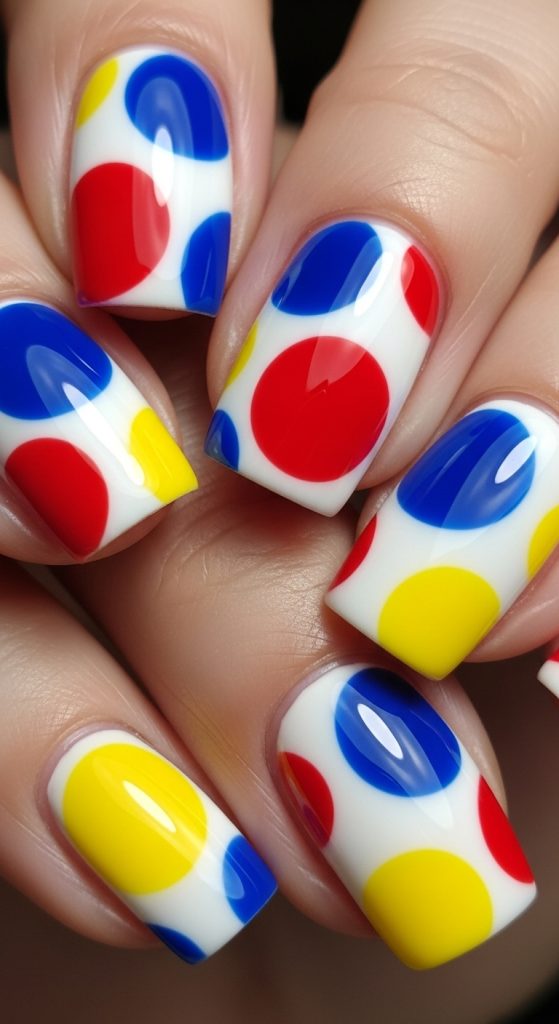
10. Bold Oversized Poka Dots Nails
Introduction
Bold oversized poka dots nails are playful and retro-inspired. This design is perfect for those who love statement nail art.
Definition / Explanation
Large dots are placed across the nail, often using contrasting colors for maximum impact.
Step-by-Step How-To
Apply base color and let dry. Use a larger dotting tool to add oversized dots. Keep spacing even. Seal with top coat.
Materials / Things Used
- Base color polish
- Contrasting dot polish
- Large dotting tool
- Base coat
- Top coat