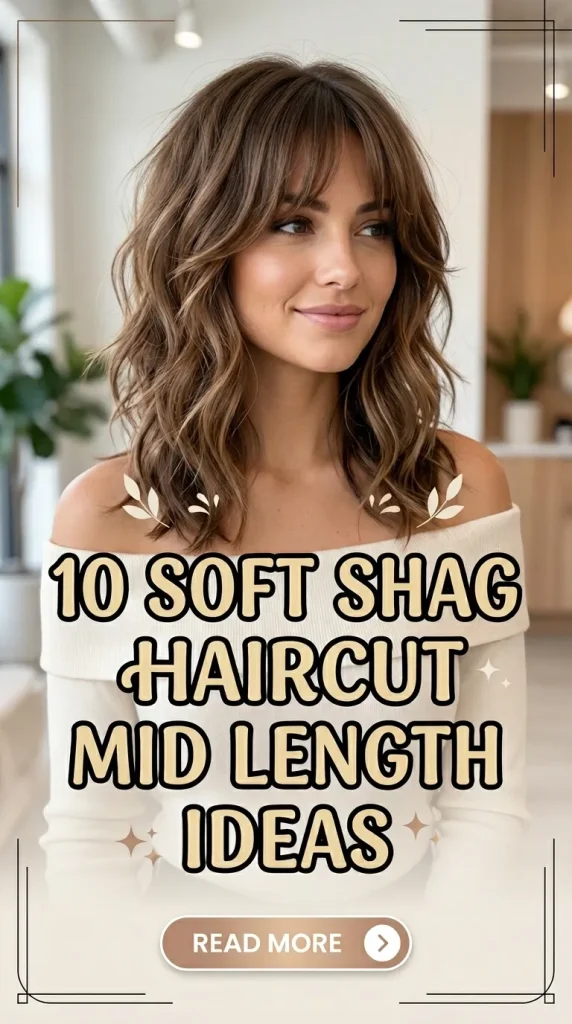
10 Soft Shag Haircut Mid Length Ideas
The soft shag haircut has officially become one of the most requested salon styles — and for good reason. It delivers effortless volume, natural movement, and that perfectly undone finish without looking overly choppy or dramatic. When kept at a mid-length, the shag becomes incredibly versatile. It’s long enough to style in waves, ponytails, and half-up looks, yet short enough to maintain bounce and shape. The “soft” shag specifically focuses on blended layers, airy texture, and face-framing pieces that enhance natural features rather than overpower them.
Unlike the bold, heavily layered shags of the 1970s, today’s version is wearable, feminine, and adaptable to multiple hair types — straight, wavy, curly, thick, or fine. The beauty of the mid-length soft shag is that it works with your natural texture rather than fighting against it. With strategic layering around the crown and cheekbones, it creates lift and dimension while removing heaviness from the ends.
Another reason this cut thrives on Pinterest and social platforms is its photogenic movement. Soft layers catch the light beautifully, curtain bangs frame the face elegantly, and styling requires minimal effort. It’s the perfect balance between low-maintenance and fashion-forward.
In this guide, you’ll find 10 soft shag haircut ideas at mid-length, each explained in detail. You’ll learn what makes each variation unique, who it works best for, how to ask your stylist for it, how to style it step-by-step, and what products you’ll need. Whether you want subtle texture or noticeable volume, there’s a soft shag variation here for you.
Let’s explore the most flattering, modern, Pinterest-worthy soft shag styles you can try this season.
1. Soft Shag with Curtain Bangs
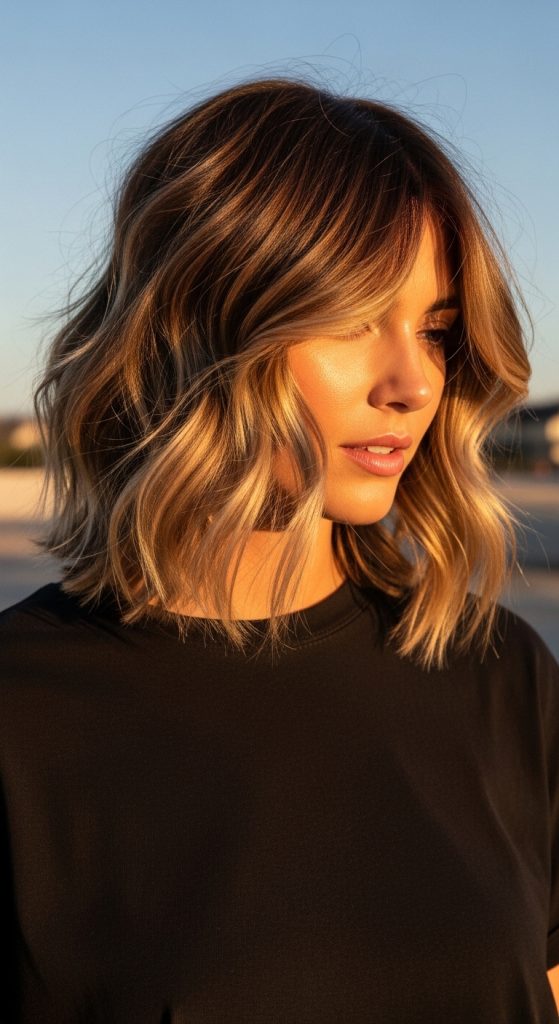
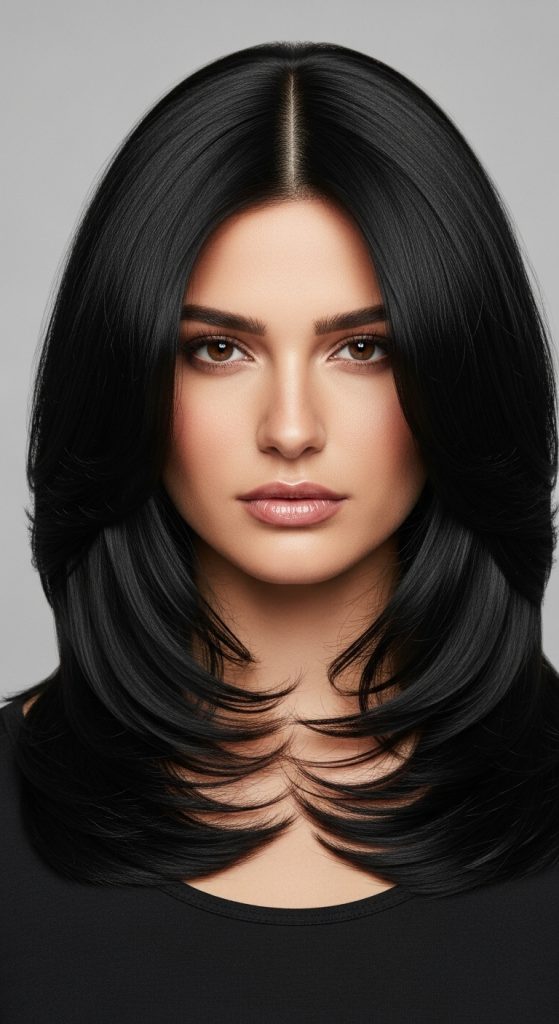
This is the most requested version of the modern soft shag. Curtain bangs add softness and create that effortless French-inspired vibe. When paired with mid-length layers, they blend seamlessly into the rest of the haircut, framing the cheekbones and jawline beautifully.
The key to this version is balance. The bangs should be airy, not thick or blunt. Layers should start around chin length and gradually cascade downward, creating movement without removing too much density. This style works beautifully on wavy and slightly textured hair but can also be styled with a curling iron for added definition.
How to Ask Your Stylist
- Request a mid-length shag with soft, blended layers.
- Ask for curtain bangs that start at the cheekbone.
- Specify that you want texture without excessive thinning.
How to Style Step-by-Step
- Apply volumizing mousse to damp roots.
- Blow-dry using a round brush to shape curtain bangs outward.
- Use a 1-inch curling iron to create loose bends.
- Shake out curls with fingers.
- Finish with lightweight texturizing spray.
Products & Tools Needed
- Volumizing mousse
- Round brush
- Blow dryer
- Curling iron
- Texturizing spray
This cut is ideal for anyone wanting movement without losing length.
2. Feathered Mid-Length Soft Shag
The feathered shag emphasizes delicate layering and airy ends. It’s softer than traditional shags and perfect for fine to medium hair types.
Feathering reduces bulk while keeping fullness at the crown. The layers are subtle but strategic, creating lift without looking dramatic. This is a fantastic choice if you want a change that still feels professional and wearable.
How to Ask Your Stylist
- Mid-length cut with feathered ends.
- Soft crown layering for volume.
- No harsh lines.
Styling Steps
- Apply heat protectant.
- Blow-dry with a paddle brush.
- Flip ends slightly outward with a flat iron.
- Add shine serum lightly to ends.
Materials Needed
- Heat protectant
- Paddle brush
- Flat iron
- Shine serum
3. Wavy Soft Shag with Face-Framing Layers
This version enhances natural waves. Layers begin at the jawline, giving the illusion of fullness while maintaining flow.
It’s perfect for those with naturally wavy hair because it reduces weight and enhances texture without heavy styling.
Styling Steps
- Apply curl cream to damp hair.
- Scrunch gently.
- Diffuse with low heat.
- Define random pieces with curling wand.
Products Needed
- Curl cream
- Diffuser attachment
- Curling wand
- Light-hold hairspray
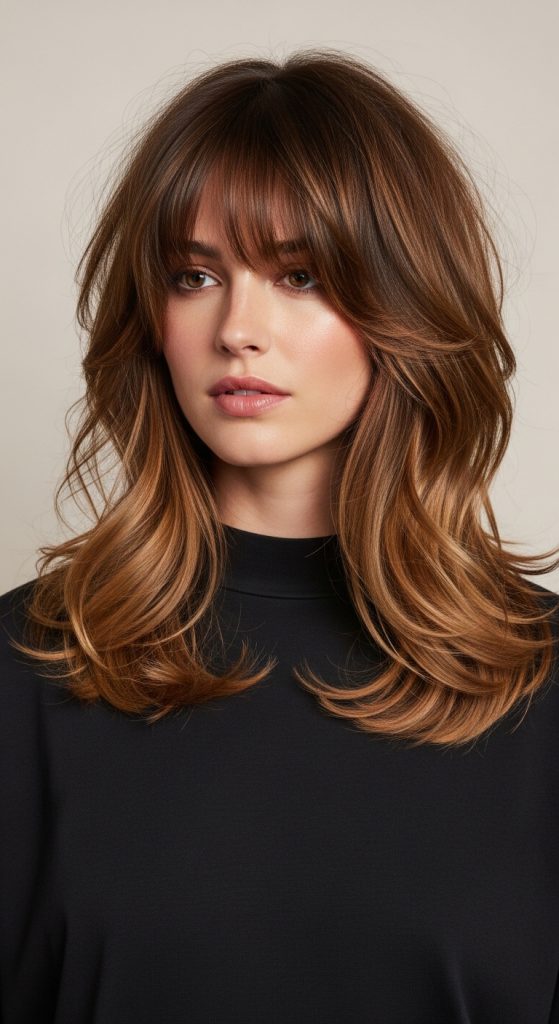
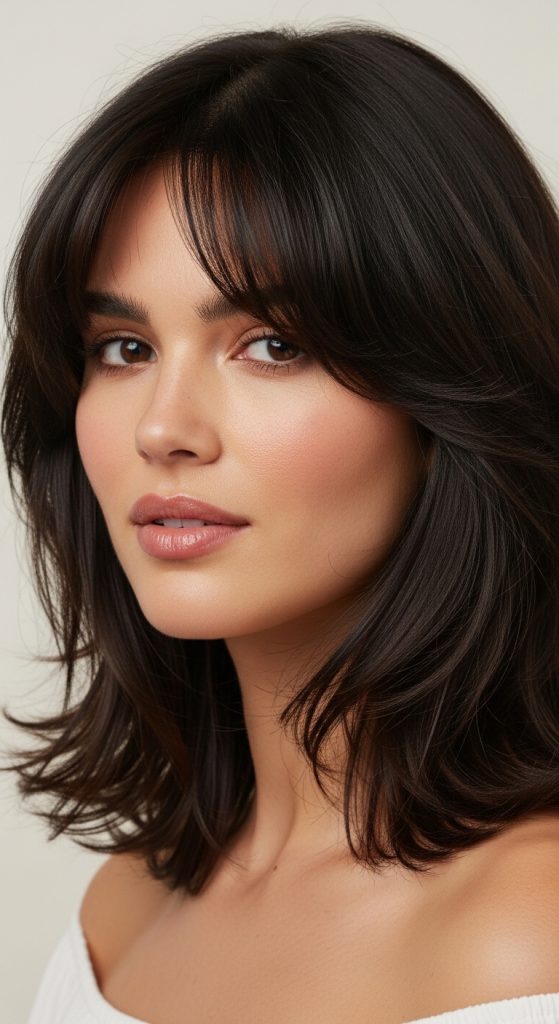
4. Soft Shag with Wispy Bangs
Wispy bangs give a delicate, romantic look. Unlike curtain bangs, they sit lightly across the forehead and blend subtly.
This style works well for straight or slightly wavy hair and softens angular face shapes.
Styling Steps
- Blow-dry bangs downward with small round brush.
- Add loose waves to mid-length.
- Finish with flexible hold spray.
Tools Needed
- Small round brush
- Blow dryer
- Curling iron
- Light hairspray
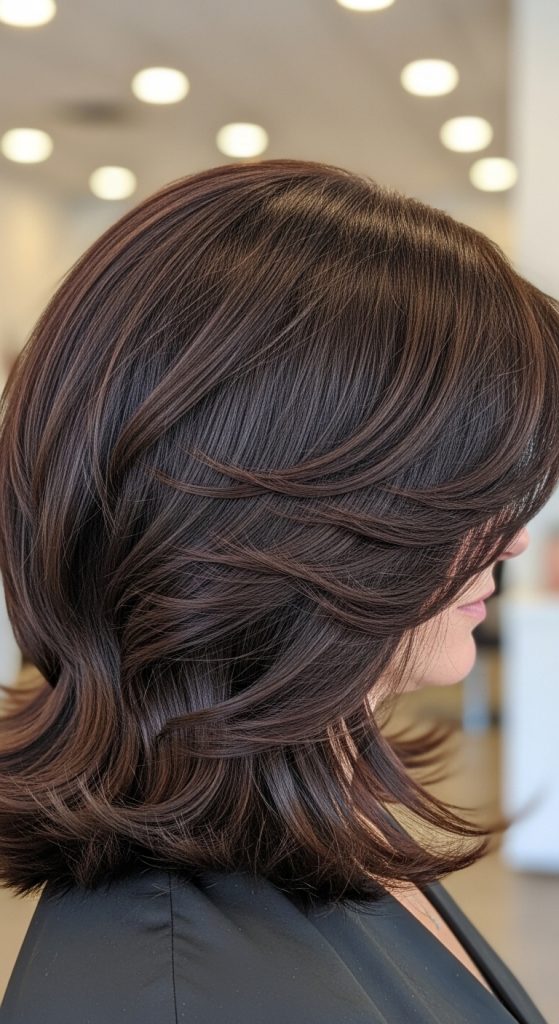
5. Layered Soft Shag for Thick Hair
For thick hair, the shag helps remove heaviness while maintaining volume. Internal layers reduce bulk without thinning too much.
Styling Steps
- Apply smoothing cream.
- Blow-dry with tension brush.
- Add loose waves for separation.
Materials Needed
- Smoothing cream
- Blow dryer
- Curling iron
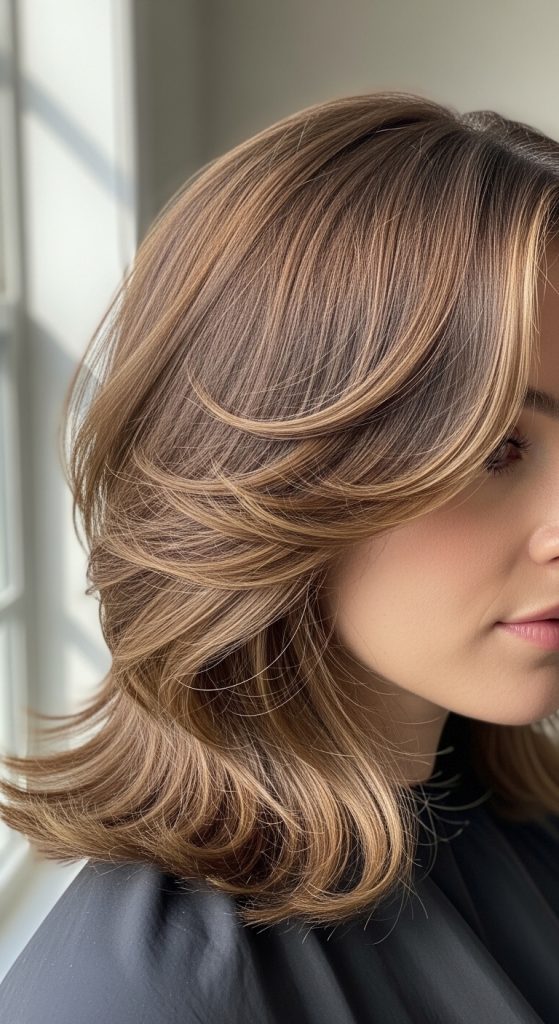
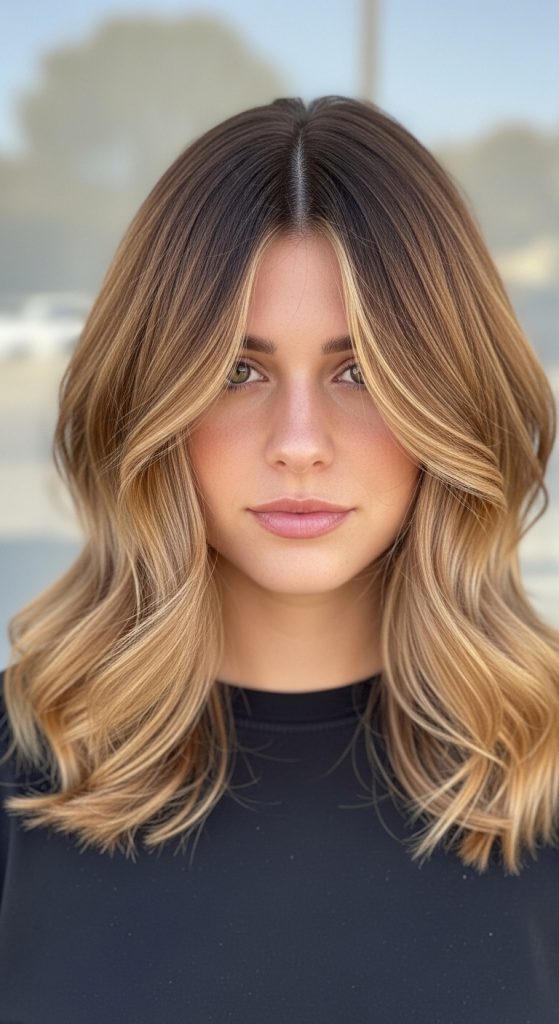
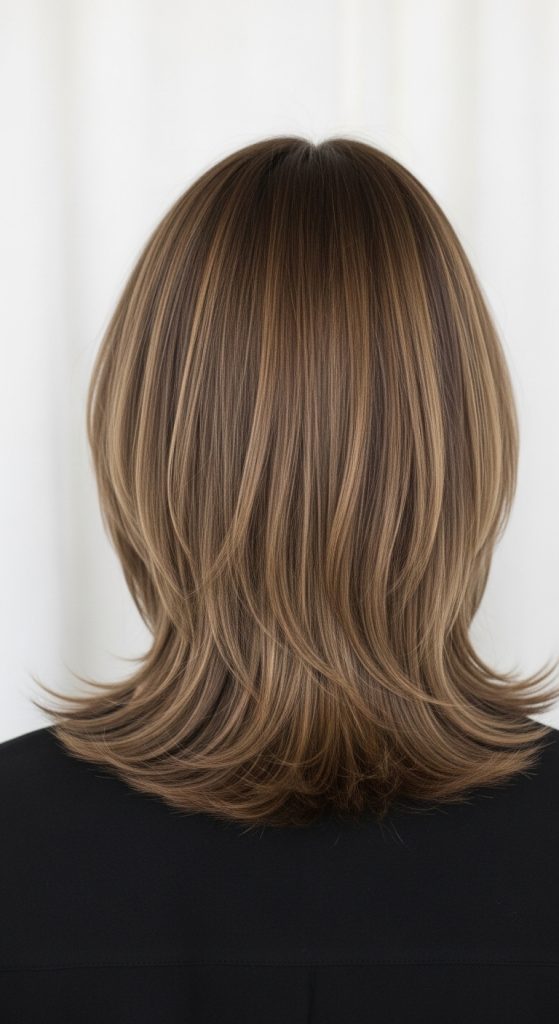
6. Soft Shag with Subtle Balayage
Adding balayage enhances dimension. Lighter pieces highlight the layered movement beautifully.
Styling Steps
- Use heat protectant.
- Create beachy waves.
- Finish with shine spray.
Materials Needed
- Heat protectant
- Curling wand
- Shine spray
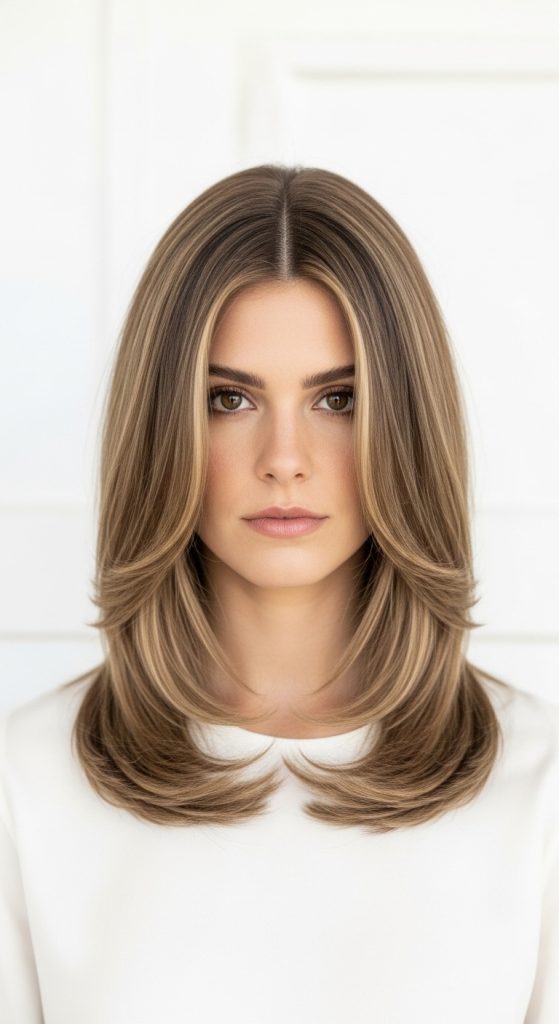
7. Straight Soft Shag with Blended Layers
Perfect for sleek lovers who still want texture.
Styling Steps
- Blow-dry smooth.
- Use flat iron for polish.
- Apply light oil to ends.
Materials Needed
- Flat iron
- Smoothing serum
- Hair oil

8. Textured Soft Shag with Natural Volume
Great for medium-density hair wanting lift at the crown.
Styling Steps
- Apply root lift spray.
- Diffuse upside down.
- Scrunch lightly.
Materials Needed
- Root lift spray
- Diffuser
- Texture spray
9. Soft Shag with Long Side Bangs
Side bangs create asymmetry and sophistication.
Styling Steps
- Blow-dry bangs sideways.
- Add loose waves.
- Finish with flexible spray.
Materials Needed
- Round brush
- Curling iron
- Light hairspray
10. Minimalist Soft Shag with Barely-There Layers
For those wanting subtle change, this version keeps layers delicate and almost invisible but still adds shape.
Styling Steps
- Blow-dry naturally.
- Add slight bend with flat iron.
- Finish with light texture mist.
Materials Needed
- Blow dryer
- Flat iron
- Texture mist